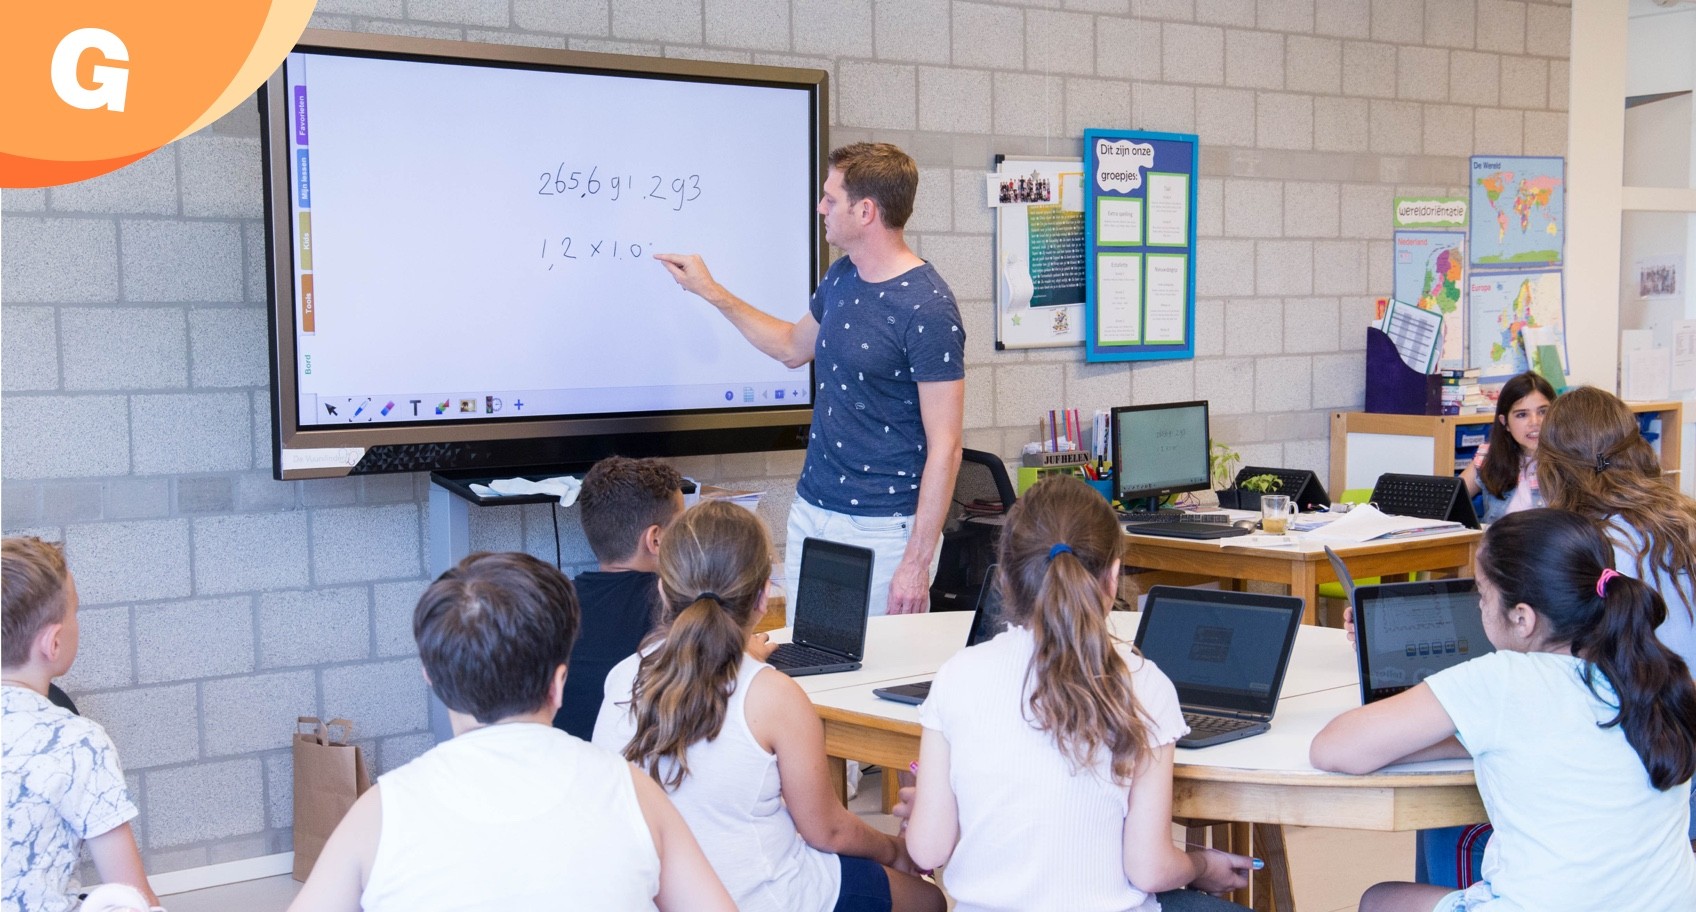
Make Lesson Planning Easier Using Your Interactive Whiteboard
As a teacher, I have to be careful that I do not let the responsibilities of a teacher creep into family time. Therefore, I am always searching for resources to make planning easier and less time consuming.
I include in all my lesson plans an interactive Smartboard or PowerPoint presentation which starts with an introduction that leads into the new content and ends with a formative assessment.
Sometimes I can use the pre-made visuals in Smartboard or clipart in PowerPoint; but most times I find them lacking ‘something or another’ and create my own.
Try Gynzy
However, this becomes time-consuming. So, stumbling upon Gynzy, searching for a classroom timer, I was ecstatic - to find so many tools, in one place, pre-made, and all I had to do was adjust the setting. Could I be dreaming?
This past school year, Gynzy was a lifesaver as I taught math in grades second, fourth, fifth, and eighth. Incorporating Gynzy into my lessons saved time and provided me with various strategies - sound, hands-on, visual - that helped all my students be successful in math.
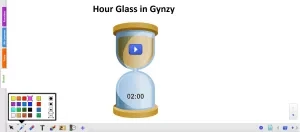
My first experience with Gynzy was the classroom timer. I have used many online timers; however, the hourglass became the students' favorite. My students would take a task and challenge themselves to see if they could finish before the sand runs out - students were more apt to stay on task and complete assignments watching the sand deplete than the minutes left.
Run your lesson smoothly
I did not realize, at first, what Gynzy was all about. I quickly discovered the whiteboard capabilities and immediately noticed the differences compared to the Smartboard program that I was accustomed to using.
Gynzy offers much more ‘white space’ to write. I find this important in modeling math problems as all the work can be shown together - not having to scroll the page up or open a new page.
When using the writing feature, the pen and eraser are easily accessible with no ‘down time’ going between tools. In contrast to using the SmartBoard, there were times the eraser would not erase or the pen did not write. I found myself setting down the pen and picking up the eraser in different combinations and when that did not work start pushing symbols on the toolbar. The students would begin offering suggestions. Fifteen minutes have passed. I have now forgotten what I was initially trying to accomplish.
It is important to keep a lesson running smoothly; and using Gynzy has provided me the experience to write without interruption, keeping the lesson on track, and students on task.
Color is the link to success
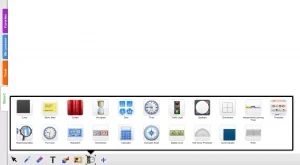
The purpose of modeling is to provide students with a clear, multi-sensory model of a skill or concept. Using different colors while demonstrating and verbally explaining breaks the math concept/skill into learnable parts. The color palate available for the pen can be conveniently used for this purpose.
When I model equations, I write each step in a different color. This strategy allows students to identify the process in each step. When finding surface area of three dimensional figures, students have a difficult time seeing all six sides to a rectangular prism. I trace each face with a different color which helps students to identify measurements.
When working with a hundreds chart, students shade odd/even numbers or prime and composite numbers in different colors. To avoid confusion, when note taking, I like to write in different colors so the students can better track what I have already written and what I am currently writing. When filling in a chart, I write each row in a different color. This prevents students from incorrectly copying the values in the wrong block.
To add a little fun to a lesson, I let students pick the colors. I have observed with my students, in the subject of math, adding color is the link to success.
Use predesigned tools
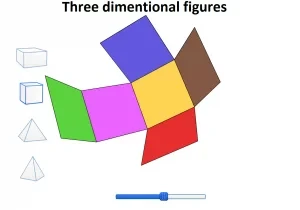
As teachers, we know the importance of students being able to see a concept visually - a strategy that helps students understands the ‘why’ behind the ‘how’.
I chose the 'All about Fractions' tool to assist in helping my second graders ‘see’ that a square can be divided into equal parts other than using one vertical line or one horizontal line. I placed four rectangles labeled ¼ vertically in the square. Then I placed nine rectangles labeled 1/9 horizontally in another square.
The students immediately discovered that the denominator was the same as the number of rectangles in each square; and became inquisitive as to how many rectangles could fit in the square. Next I used the square labeled 1/9 and asked students if the square could be divided equally using small squares. Looking at the denominator, they were skeptical that nine squares would fit. However, as I began filling the shape, their looks were replaced with that of amazement.
We continued to investigate further other ways to divide the square equally when one student inquired if it is possible to mix the different sizes of rectangles and squares. I demonstrated by dividing the square in half, then dividing the left side in half and the right side in thirds.
Once students became comfortable with the process, I grouped the students in pairs and had them go to the board and model one way to divided the square equally and one way to divide the square using more than one size rectangle.
The preparation time for this lesson was minimal and the students benefited by taking the initial concept and applying it further. This would not have been possible without the detailed visuals offered by Gynzy.
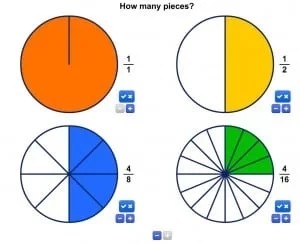
For 5th grade, I used the fraction circles to model equivalent fractions. I put two circles on the board: one in simplest form and the other I divided each section into the same number of equal parts. After showing several examples, the students discovered that by multiplying the numerator and denominator by the same number, you create an equivalent fraction. I also used the 'Creating a Number Line' tool when demonstrating fractions on the number line. The fraction number line would have worked better; however, was not yet created.
The concept of fractions involves knowing ‘a lot’ of rules. The visuals offered by Gynzy have provided some explanation as to why the rules work.
Use the screen capture feature
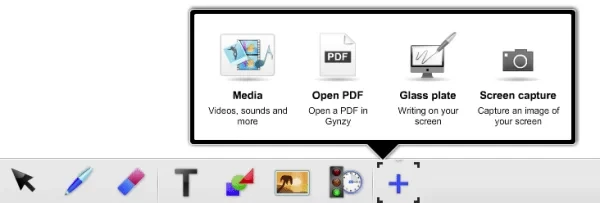
For my 8th grade class, I used the ‘Screen Capture’ feature to plan lessons. The school wanted to try out a common core curriculum before purchasing a class set; so, I took the sample of the student e-book and would screen capture sections of each page. I mostly copied examples of each concept, vocabulary words, and practice problems.
With each example on the Gynzy board, I was able to write notes and draw arrows, using different pen colors. Students had to copy the example in their notebooks - making a study guide for the unit test. Instead of making worksheets to practice, I would screen capture problems and visuals from math websites. I could capture textbook quizzes.
I also captured answers from the teacher edition during our graphing unit. This way, students could compare graphs and correct any mistakes. I discovered that the screen capture feature is better and easier than copying and pasting - especially for pictures. I was skeptical as to how teaching this way would benefit the students.
Ironically, the students found it more beneficial than having a textbook. This feature allows you to pull in anything from any website in its original format with no need for adjustments.
Make your students feel special
My favorite Gynzy tool is the 'Birthday Cake'. I take opportunities to know my students on a personal level. One way I do this is to celebrate each student’s birthday.
I begin by acknowledging the student with a birthday banner that can be worn all day, a birthday card signed by students and teachers, a birthday pencil, and a certificate recognizing the special day. The student waits anxiously to see their cake, which becomes a five-minute conversation piece, as I decorate the cake keeping in mind his/her personality. I play the traditional birthday music and let the special student go to the board and push the button to blow out the candles.
All the other students wait to see if the button will get pushed at the right time for all the candles to go out. Also, part of the celebration is a short birthday video. I paste the link in Gynzy; this brings a smooth flow to the celebration. I save the last five minutes of class time for birthday recognitions.
Throughout the year, students wait patiently for their birthday to arrive. I teach in a poverty district; so, to see the expression on a student’s face and the excitement displayed as they are made to feel special is priceless.
Save time and engage your students!
Until I found Gynzy, I was an avid Smartboard user and promoter. Using Gynzy has made lesson planning easier and less time-consuming.
Gynzy activities engage students in learning through demonstrating the concept, provide for student interaction, and incorporate checking for student understanding.
Overall, Gynzy has given my students a reason to be enthusiastic about math, and the tools have exceeded my expectations.
